Boas, já era para ter feito este post, mas aqui vai..uma das coisas que falta no meu bixo é uns
Xenon..depois de ver o que o pessoal tem posto, não fiquei convencido..percebo que é bem melhor
que as luzes de origem, mas são na minha opinião muito azuis..digo isto porque à tempos deparei-me
no forum da 600rr.net um user que pôs estas Ddm Hid e achei exelente o resultado final vou apenas
fazer um copy paste do post desse user mas traduzido por um brazuca para o forum honda cbr
Brasil.. Fica aqui também o video do user do cbr600rr.net onde mostra a cor da luz..
https://s226.photobucket.com/albums/dd208/gagidrmanac/?action=view¤t=MVI_7067.flv
"Pois bem, como sei que muitos sao aventureiros e gostam de "fuçar" na propria maquina, resolvi postar um tutorial de como instalar XENON nas motocas...
O how to foi copiado do forum
[url=http://www.600rr.net/]WWW.600RR.NET[/url] todos os creditos para eles..
Obs:. Tentei de todas as formas possiveis, fazer uma tradução a altura do forum... e contei tambem com o google tradutor, veremos... caso haja alguma duvida tentarei sana-la.
INSTALANDO XENON:
1.) Examinar os reatores, no caso dos da foto, eles sao do formato SLIM, ou seja, mais finos para que possam caber sobre as carenagens.
Enlarge this imageReduce this image Click to see fullsize

Enlarge this imageReduce this image Click to see fullsize

A proxima etapa é remover as carenagens para ter acesso a todos os fios e achar um local para instalar os reatores.
Remova os três parafusos hex prata, puxe o interior clip rapido pelo radiador e, finalmente, desapertar os dois parafusos e retire clipes sob a carenagem da frente. Estão marcados em vermelho.
Enlarge this imageReduce this image Click to see fullsize
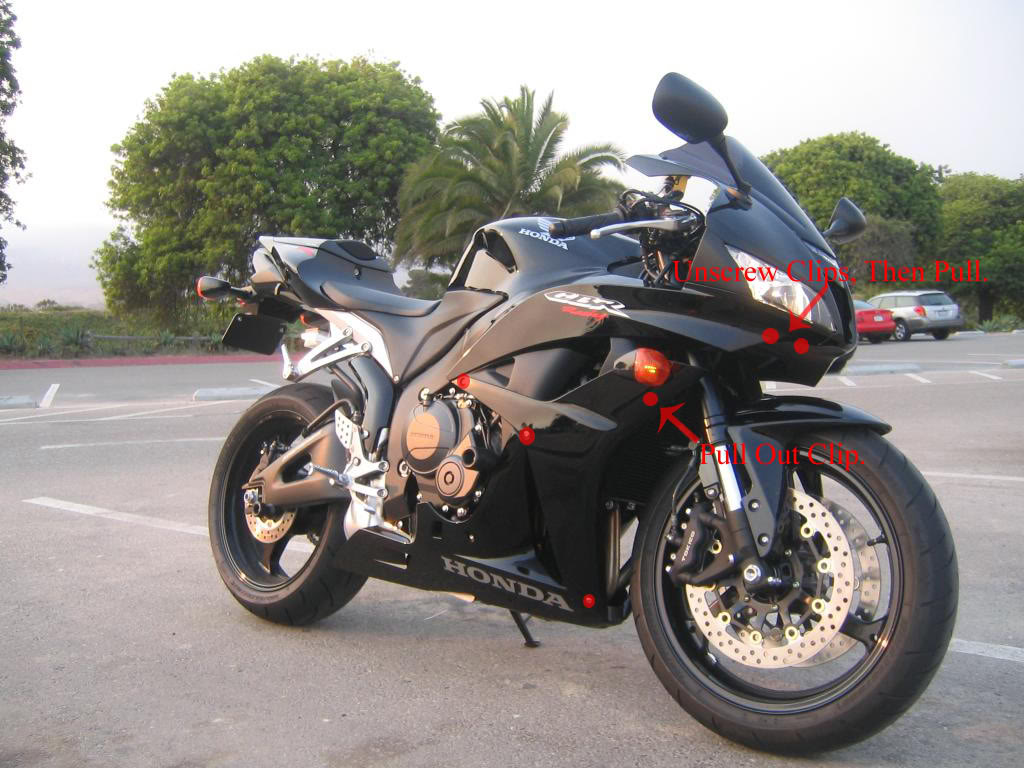
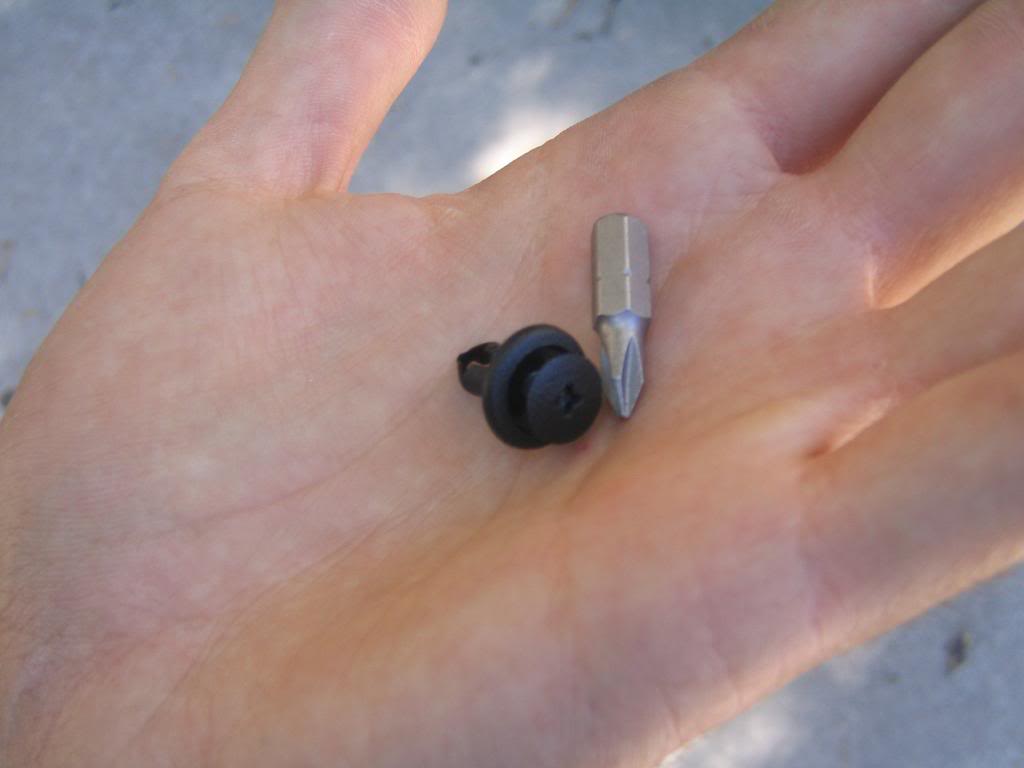
É utilizado uma chave PHILIPS, pois o espaço é muito pequeno e apertado, e a chave da conta do recado.
Enlarge this imageReduce this image Click to see fullsize
Ele removeu a frente da carenagem toda para uma melhor analise sobre as lampadas.
Dobre para trás os clips e remova os quatro parafusos, dois de cada lado da frente capota. Isso permitirá que todo o conjunto frontal seja retirado.
Enlarge this imageReduce this image Click to see fullsize
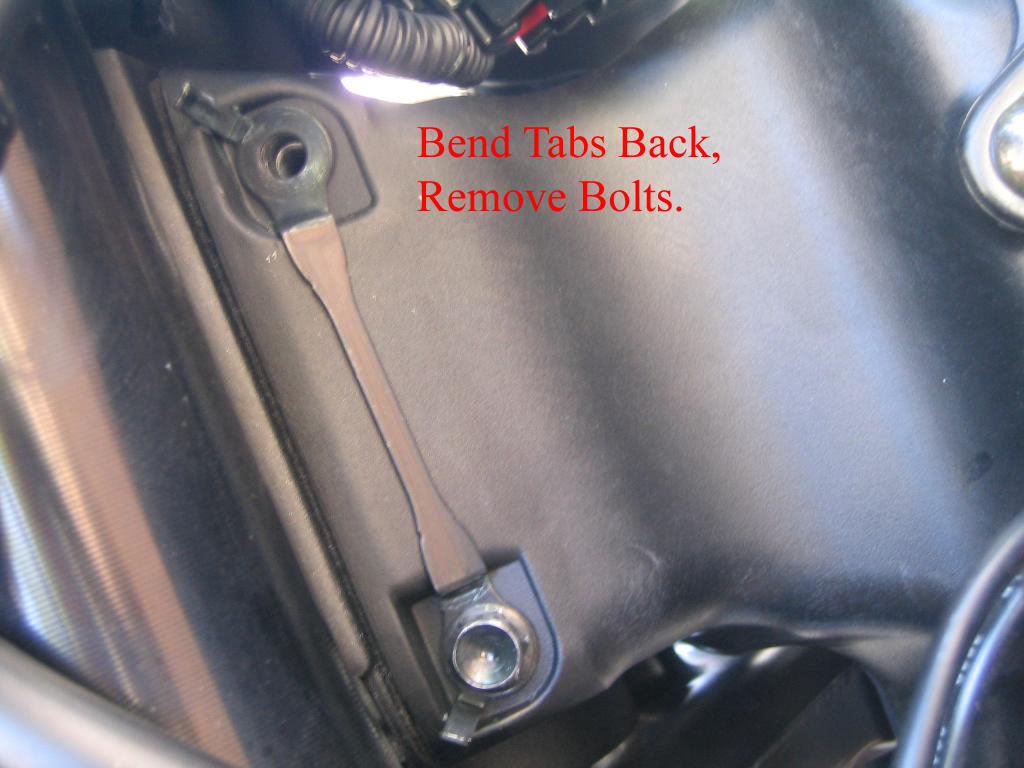
Detalhe da frente, dps de removida.
Enlarge this imageReduce this image Click to see fullsize
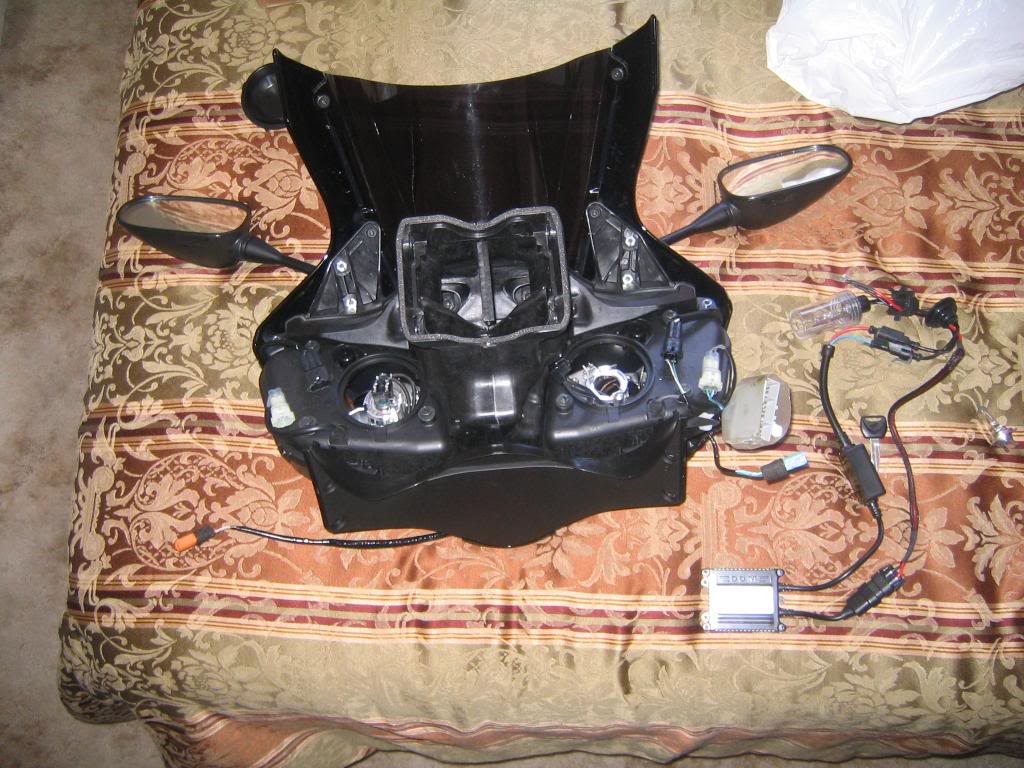
Aqui iremos tirar as lampadas halogenas e instalar as lampadas do xenon.
[img]https://2img.net/h/i226.photobucket.com/albums/dd208/gagidrmanac/IMG_7076.jpg/img]
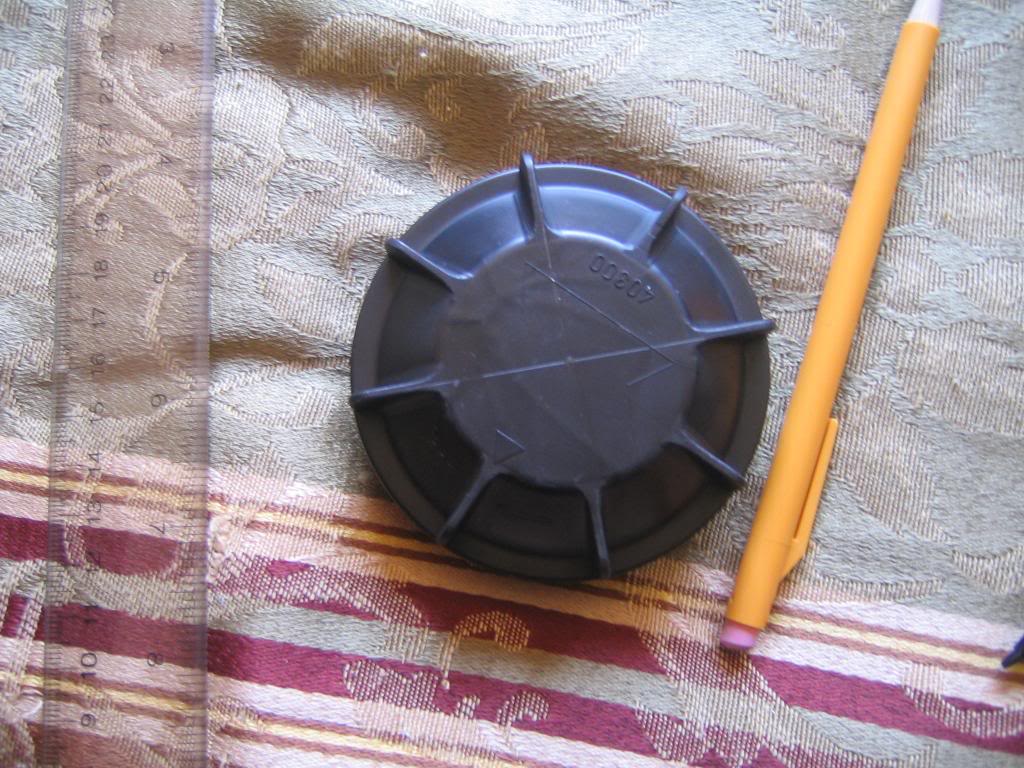
2.) Aqui, iremos fazer o segundo passo, que é furar o bulbo da tampa da lampada, SE NAO ME ENGANO é a broca de 1mm que se usa.

Tenha um ponto de referencia, de preferencia no CENTRO da tampa.
Enlarge this imageReduce this image Click to see fullsize
Enlarge this imageReduce this image Click to see fullsize

Enlarge this imageReduce this image Click to see fullsize

Em seguida é hora de instalar as lampadas de xenon.
Confira se os cabos ja forampassados por dentro do buraco.
Enlarge this imageReduce this image Click to see fullsize

Para garantir a vedação, confira se o CAP de vedação foi bem posicionado.
Enlarge this imageReduce this image Click to see fullsize

Enlarge this imageReduce this image Click to see fullsize

Enlarge this imageReduce this image Click to see fullsize

3.) Agora insira a lampada em seu local normal(na moto). Retire a tampade plástico. Não toque no bulbo de vidro, ou o óleo em suas mãos vai queimar a lâmpada quando ela acende e fica quente. Coloque a lâmpada no local e apertar o clip para baixo.
Enlarge this imageReduce this image Click to see fullsize
 Corte a parte de plastico rosqueada, voce nao irá precisar mais dela.
Enlarge this imageReduce this image Click to see fullsize

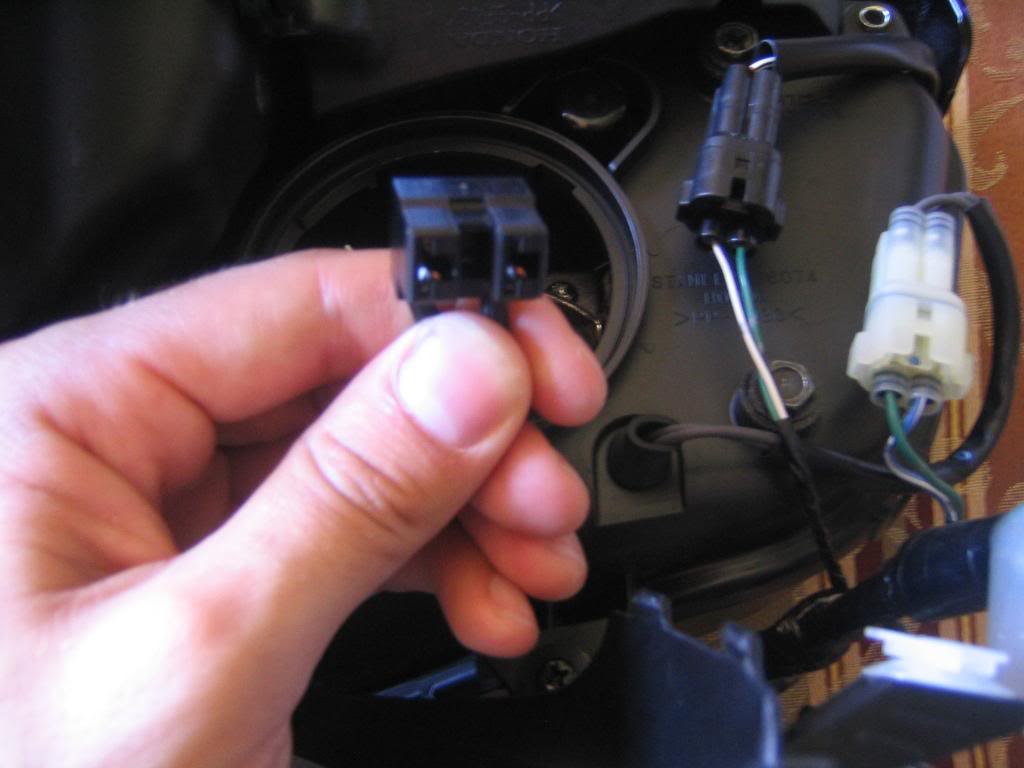
Note na fiação, que ao tirar a lampada halogenea, nao é informado qual lado é POSIVITO e qual é NEGATIVO, mais para os XENON´S isso é muito importante.
No caso do cara do how to, ele usou um voltímetro digital para saber qual é qual, e a solução achada foi a da foto, MAIS pode ser completamente diferente em sua moto, entao é melhor testar voce tambem, para saber qual lado é o verde/negativo e qual o lado o azul/positivo.
Enlarge this imageReduce this image Click to see fullsize

Enlarge this imageReduce this image Click to see fullsize
Enlarge this imageReduce this image Click to see fullsize
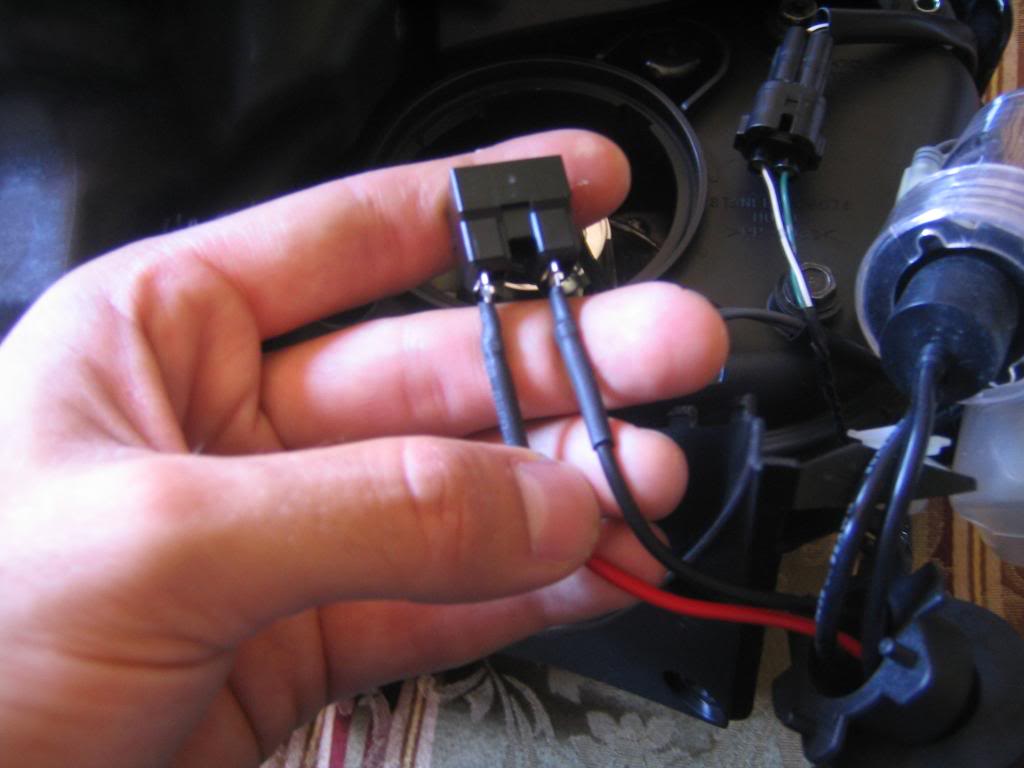
obs:. Foi pulgado tudo numa boa, tudo plug and play, NADA DE SOLDAS!
Feche o tampao, nao esquecendo da borracha de vedação para nao entrar nem poeira nem agua no mesmo.
Enlarge this imageReduce this image Click to see fullsize

Confira se está tudo BEM encaixado.
Enlarge this imageReduce this image Click to see fullsize

4.) Reinstale a párte frontal da carenagem.
Ela deve ficar assim.
Enlarge this imageReduce this image Click to see fullsize

Verifique a boa funcionalidade antes de sair escondendo os reatores por toda parte, confira se todos os cabos estao OK, existem 3 cabos primordiais, dois magrinhos e um gordo.´
Enlarge this imageReduce this image Click to see fullsize

Enlarge this imageReduce this image Click to see fullsize
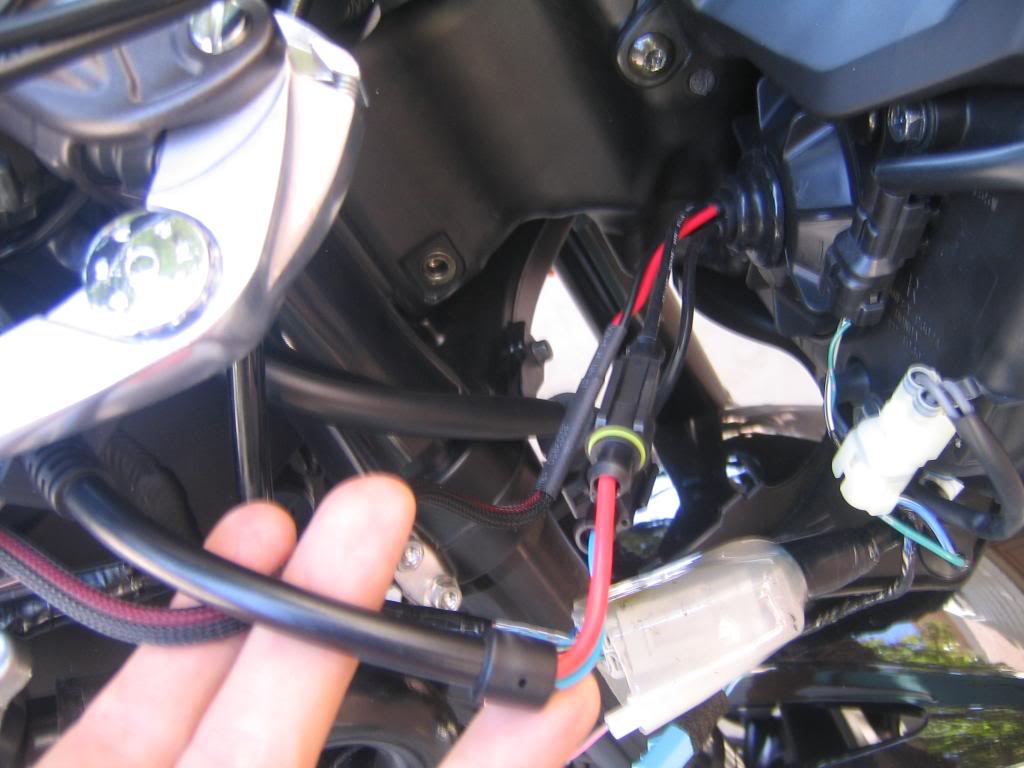
ligue tudo e confira se tudo acende normal.
Enlarge this imageReduce this image Click to see fullsize

Agora, chegou a hora de OCULTAR os reatores.
No caso desses hoe to, ele escondeu-os sobre os principais quadros, sob o revestimento de borracha e escondido por debaixo do radiador.
Enlarge this imageReduce this image Click to see fullsize
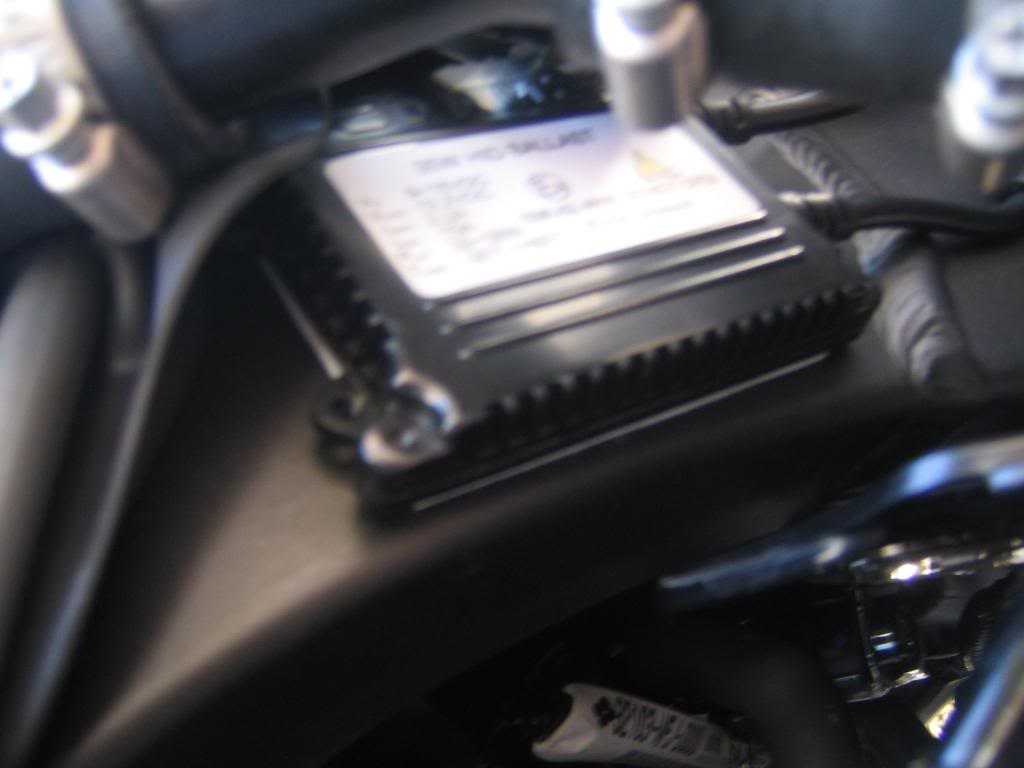
Enlarge this imageReduce this image Click to see fullsize
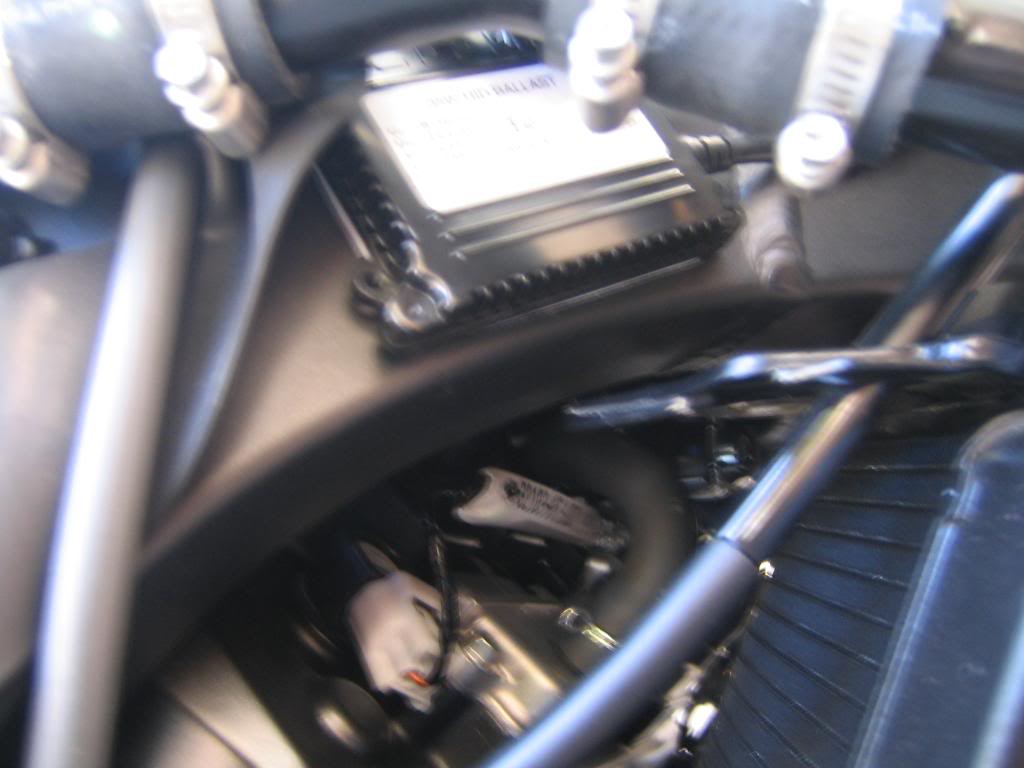
Enlarge this imageReduce this image Click to see fullsize
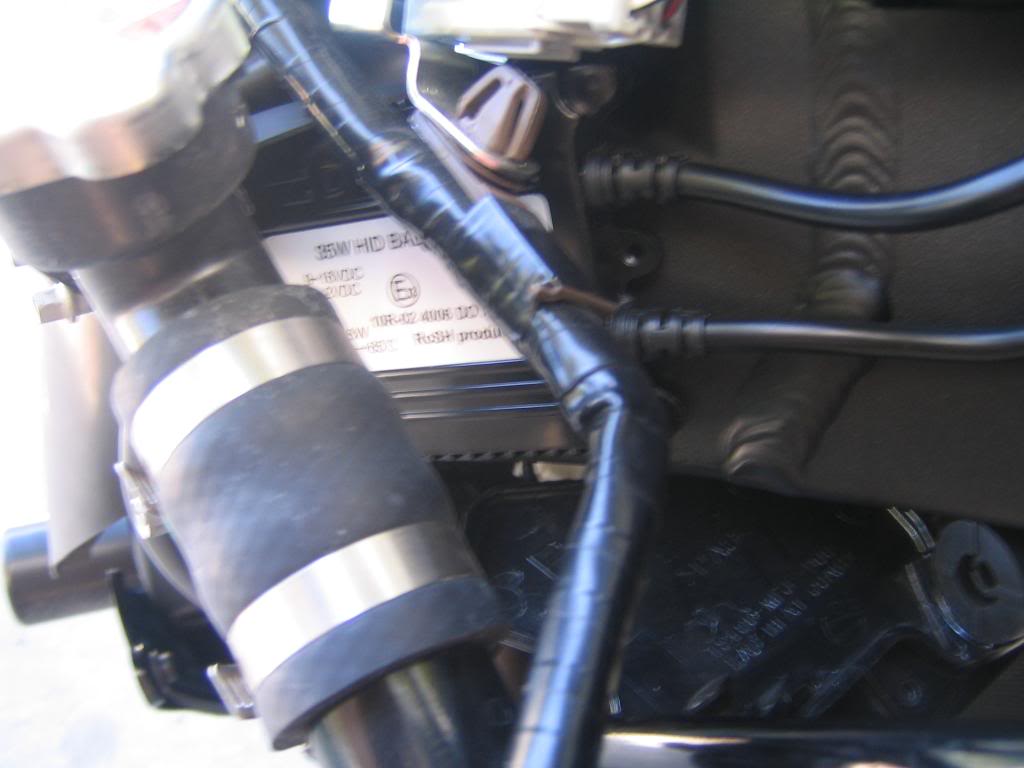
Enlarge this imageReduce this image Click to see fullsize

Enlarge this imageReduce this image Click to see fullsize

5.)
Agora temos que juntar os fios e escondeolos afim de ficar tudo ok para re-instalaçaõ da carenagem.
Enlarge this imageReduce this image Click to see fullsize
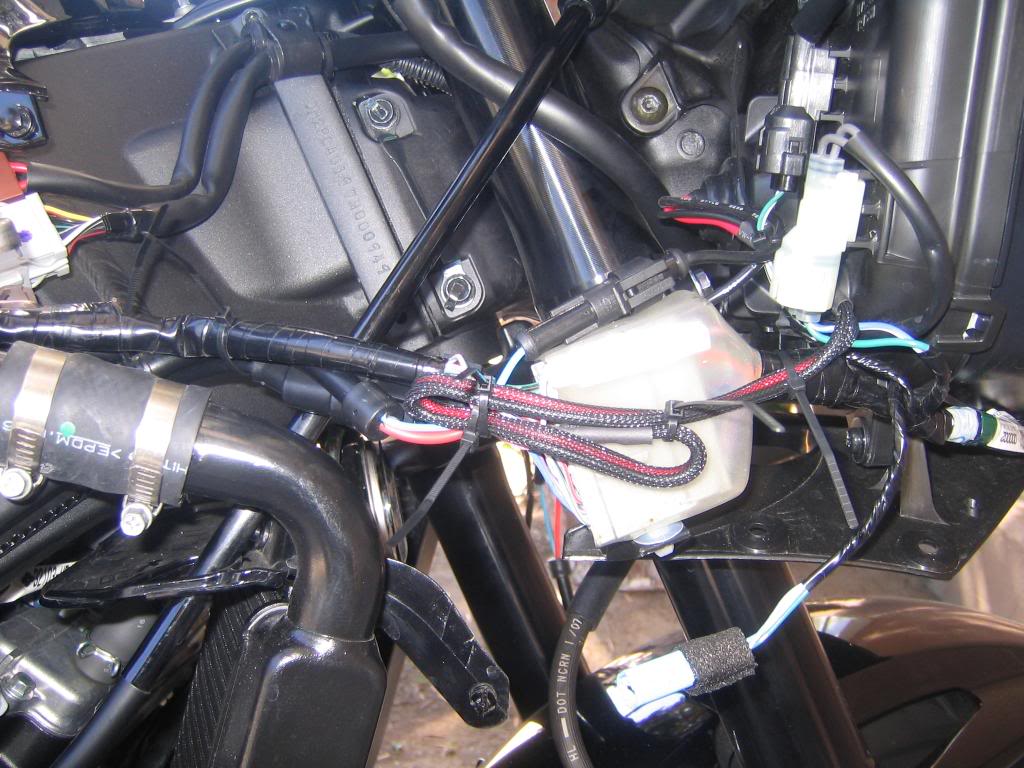
Enlarge this imageReduce this image Click to see fullsize

Enlarge this imageReduce this image Click to see fullsize

Enlarge this imageReduce this image Click to see fullsize
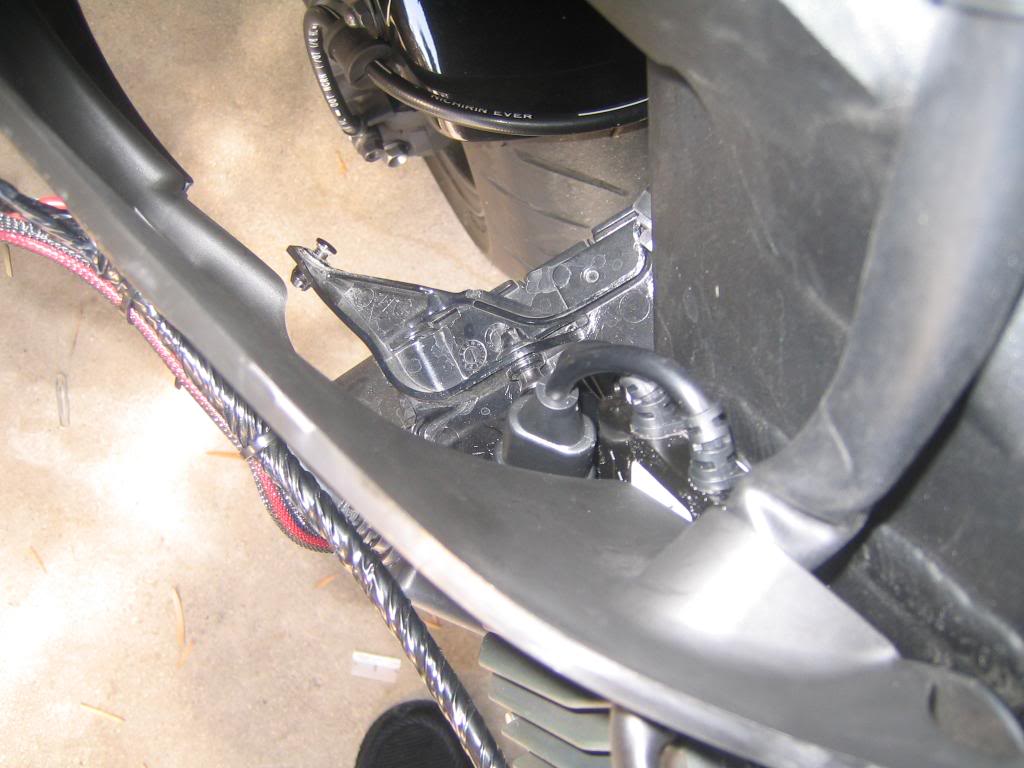
Dps de tudo OK, só seguir o passo INVERSO do começo do how to, instalando as laterais, parafausando com a chave phillips... caso haja alguma duvida vá ao manual do proprietario na PAG 90 e siga as instruções.
Enlarge this imageReduce this image Click to see fullsize

Enlarge this imageReduce this image Click to see fullsize

Uma vez, tudo acabado, essa é a visao que o motorista terá.
Enlarge this imageReduce this image Click to see fullsize

Enlarge this imageReduce this image Click to see fullsize

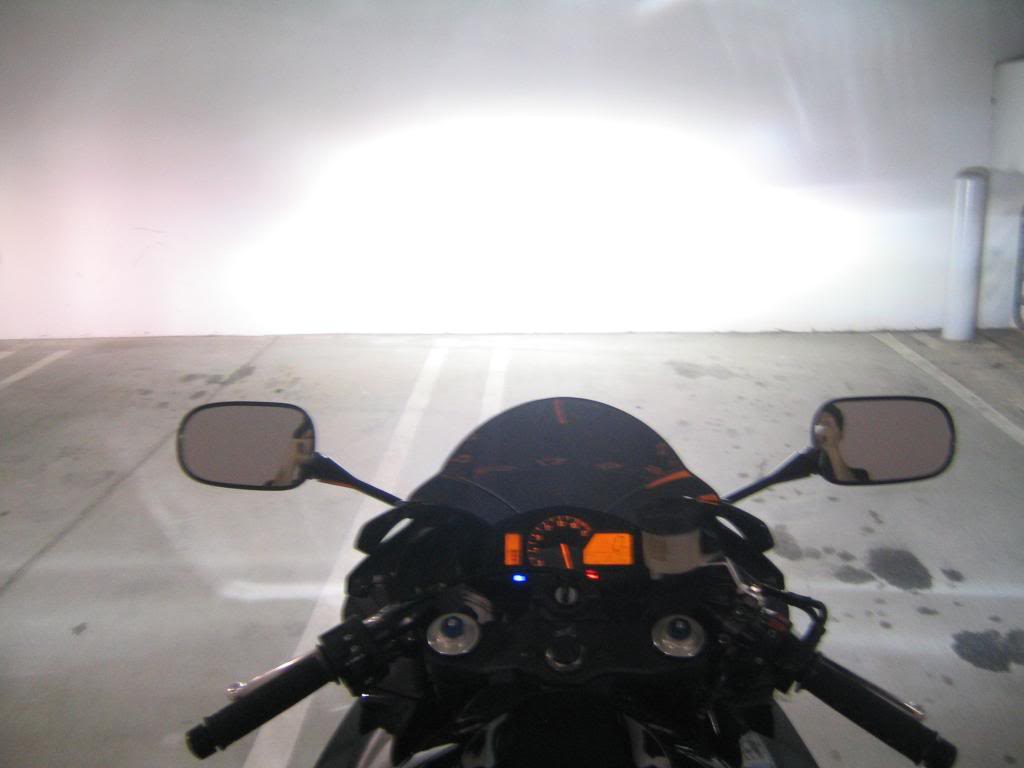
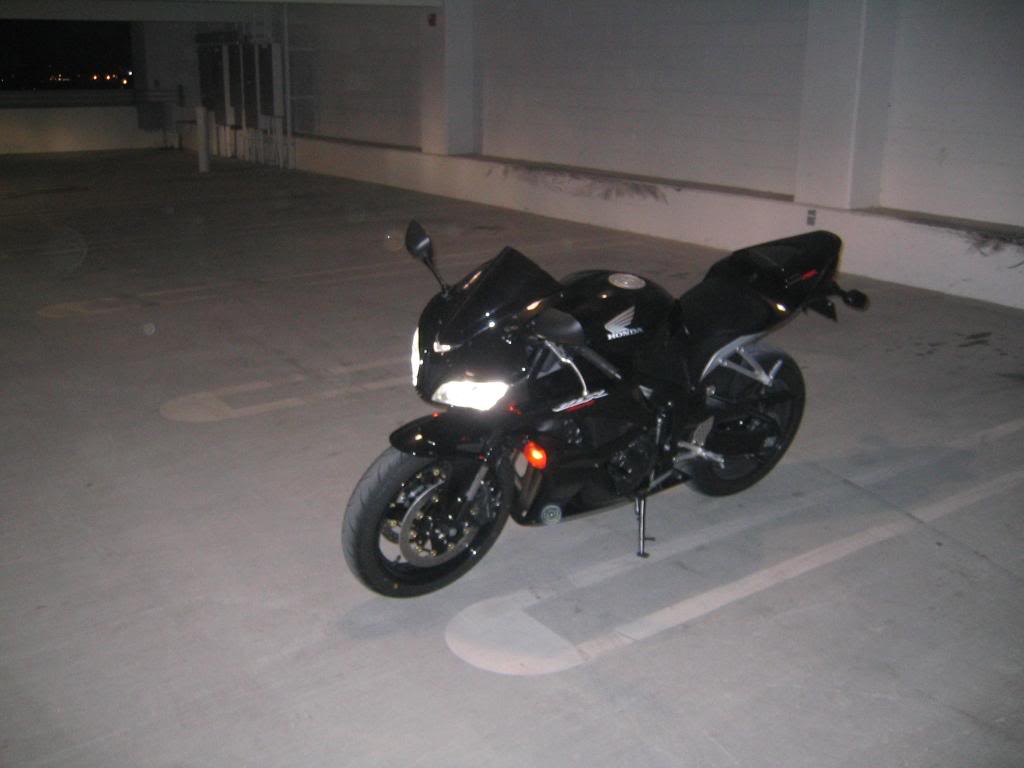
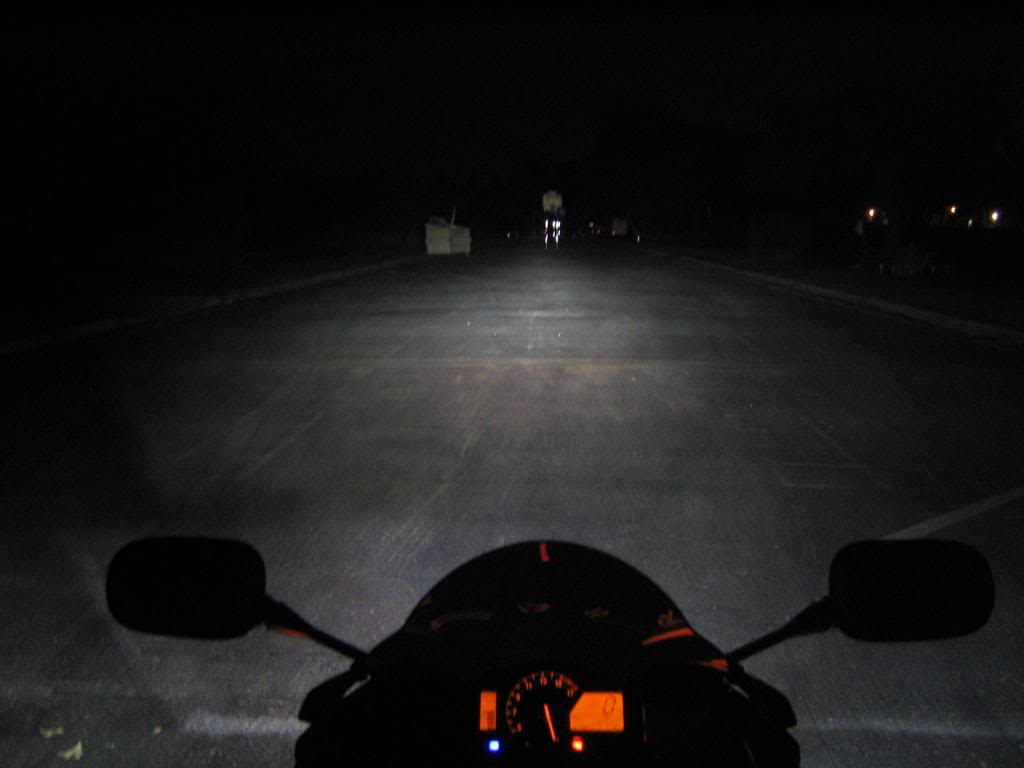
GRAN FINALE
Enlarge this imageReduce this image Click to see fullsize

Enlarge this imageReduce this image Click to see fullsize

Enlarge this imageReduce this image Click to see fullsize
Enlarge this imageReduce this image Click to see fullsize
Enlarge this imageReduce this image Click to see fullsize
Enlarge this imageReduce this image Click to see fullsize
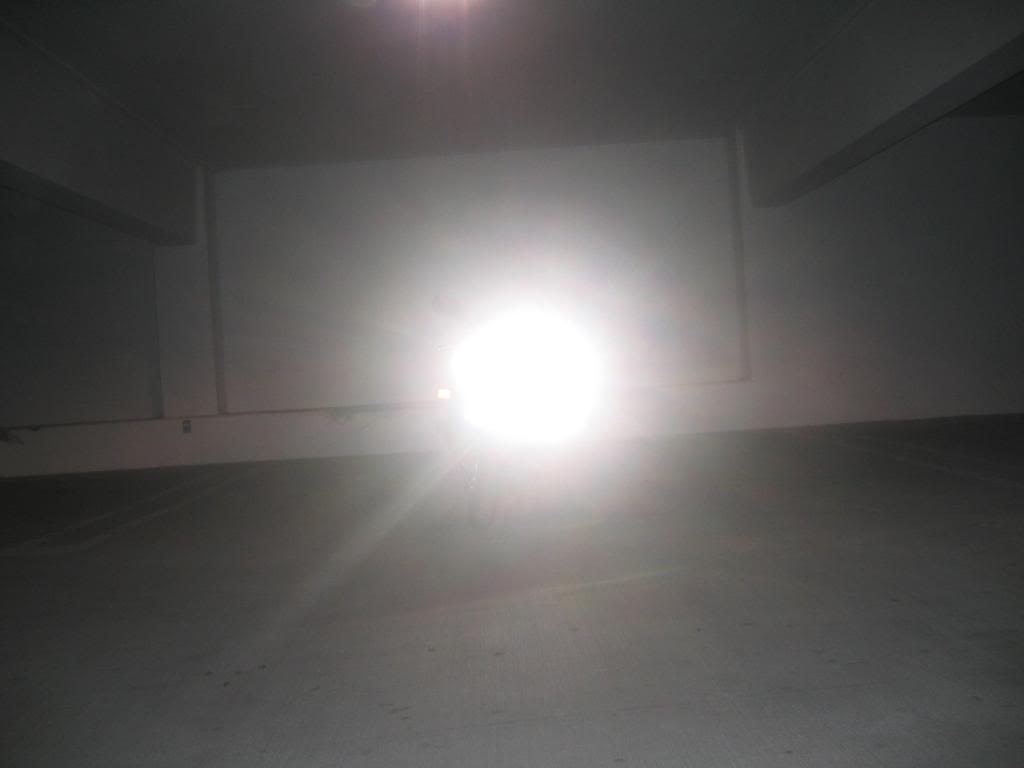 ESPERO QUE ISSO POSSA AJUDAR OS AVENTUREIROS DO FORUM, se fosse eu que tivesse desmontando a carenagem, a cbr iria virar naked, nao teria a menor condição de remonta-la... fica a dica!"
 Como podem ver a instalação não é nada fácil..mas o resultado é genial!


